How It Works #
- The Candidate reaches the Webhook Step.
- The system sends an HTTP request to the configured endpoint.
- Data is delivered to the external system.
- If the request fails, the system retries automatically.
- The Journey continues.
How to Configure #
Basic Setup #
- Open your Agent in the Agent Editor.
- Go to Path Steps.
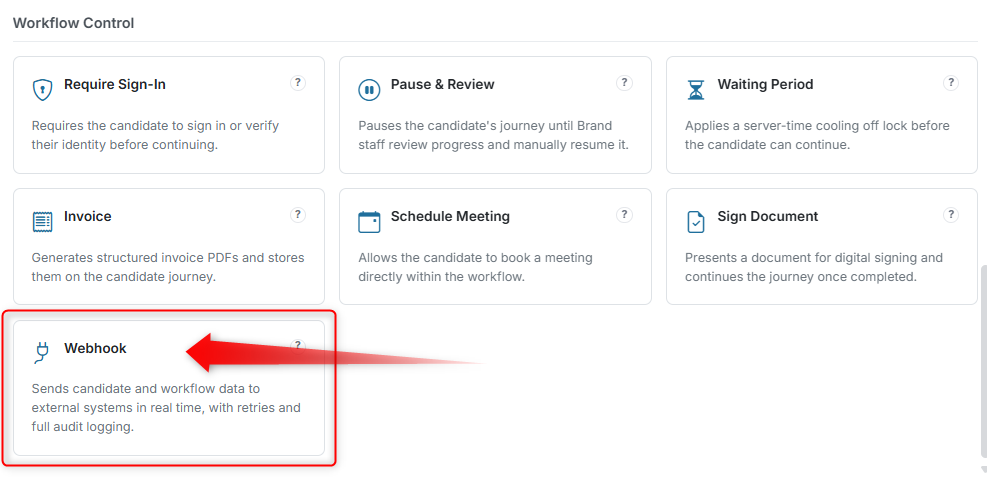
- Click Add Step → select Webhook.
Select Mode #
Choose the operating mode:
- Test — For testing the integration (does not affect live data)
- Live — For production use
Configure Webhook URL #

- Enter the Endpoint URL (the external system's API endpoint).
Example:
[https://yourapi.com/webhook](https://yourapi.com/webhook)
Add Headers (Optional) #
- Click Add Header.
- Add any required headers. Examples:
| Header | Value |
|---|---|
Authorization | Bearer your-api-token |
Content-Type | application/json |
Configure Body (JSON) #
The request body must be valid JSON. You can use Merge Fields inside strings to include Candidate data.
Example:
json
{
"name": "{{ firstname }} {{ lastname }}",
"email": "{{ email }}",
"step": "{{ current_step_name }}"
}
Preview Payload (Recommended) #
Before going live:
- Enter a Sample Candidate ID.
- Click Preview Payload.
- Verify that the data looks correct before saving.
Final Step #
- Click Save.
What the Candidate Sees #
Nothing — this Step runs silently in the background. The Candidate does not see or interact with it.
How the Runner Handles Webhooks #
- Executes instantly when the Step is reached
- No UI interaction required from the Candidate
- Retries automatically if the request fails
- Does not block the Journey (depending on setup)
What Admin / Reviewer Sees #
Webhook execution is logged and can be tracked in Webhook Logs:
- Success / failure status
- Payload sent (the data that was delivered)
- Retry attempts (how many times the system retried)
Example #
Scenario: Send Candidate data to your CRM after onboarding.
Configuration:
json
{
"candidate_name": "{{ firstname }} {{ lastname }}",
"email": "{{ email }}",
"status": "onboarded"
}
Outcome:
- Data is sent to the external CRM
- The CRM is updated automatically
- No manual input needed
Tips #
- Always test using Test mode first
- Validate your JSON before saving
- Use Preview Payload to check data before sending
- Monitor delivery status in Webhook Logs
- Use authentication headers for security
- Keep payloads minimal — only send data the external system needs
Notes #
- Merge Fields must be inside quotes (JSON requirement)
- The endpoint must accept POST requests
- Ideal for integrations with CRMs, ATS systems, and automation tools