How It Works #
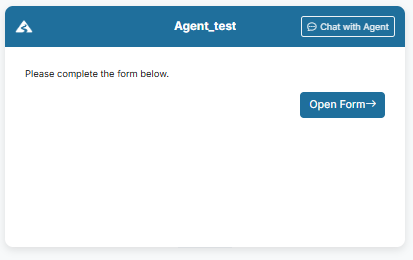
- The Candidate reaches the Form Step.
- A button (e.g., "Open Form") is shown.
- The Candidate opens and completes the form.
- Submitted data is saved to the Candidate record.
- The Journey continues to the next Step.
How to Configure #
- Open your Agent in the Agent Editor.
- Go to Path Steps. Choose form.
 3. Click Configure on a Form Step.
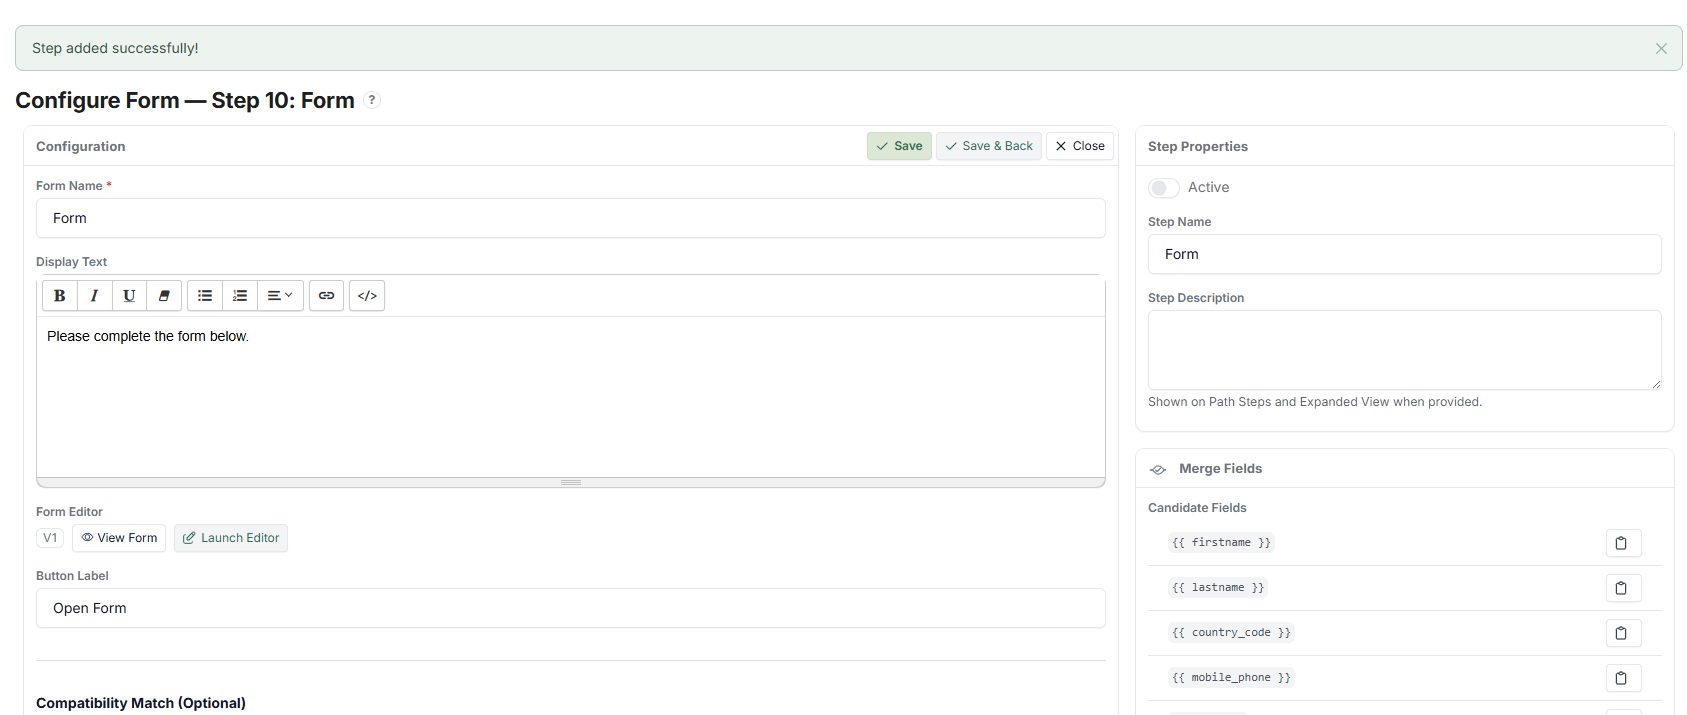
- Enter your Display Text.
- Set the Button Label (e.g., "Open Form", "Fill in Details").
- Click Launch Editor to open the Form Editor.
- Build your form (see Form Editor below).
- Click Save.
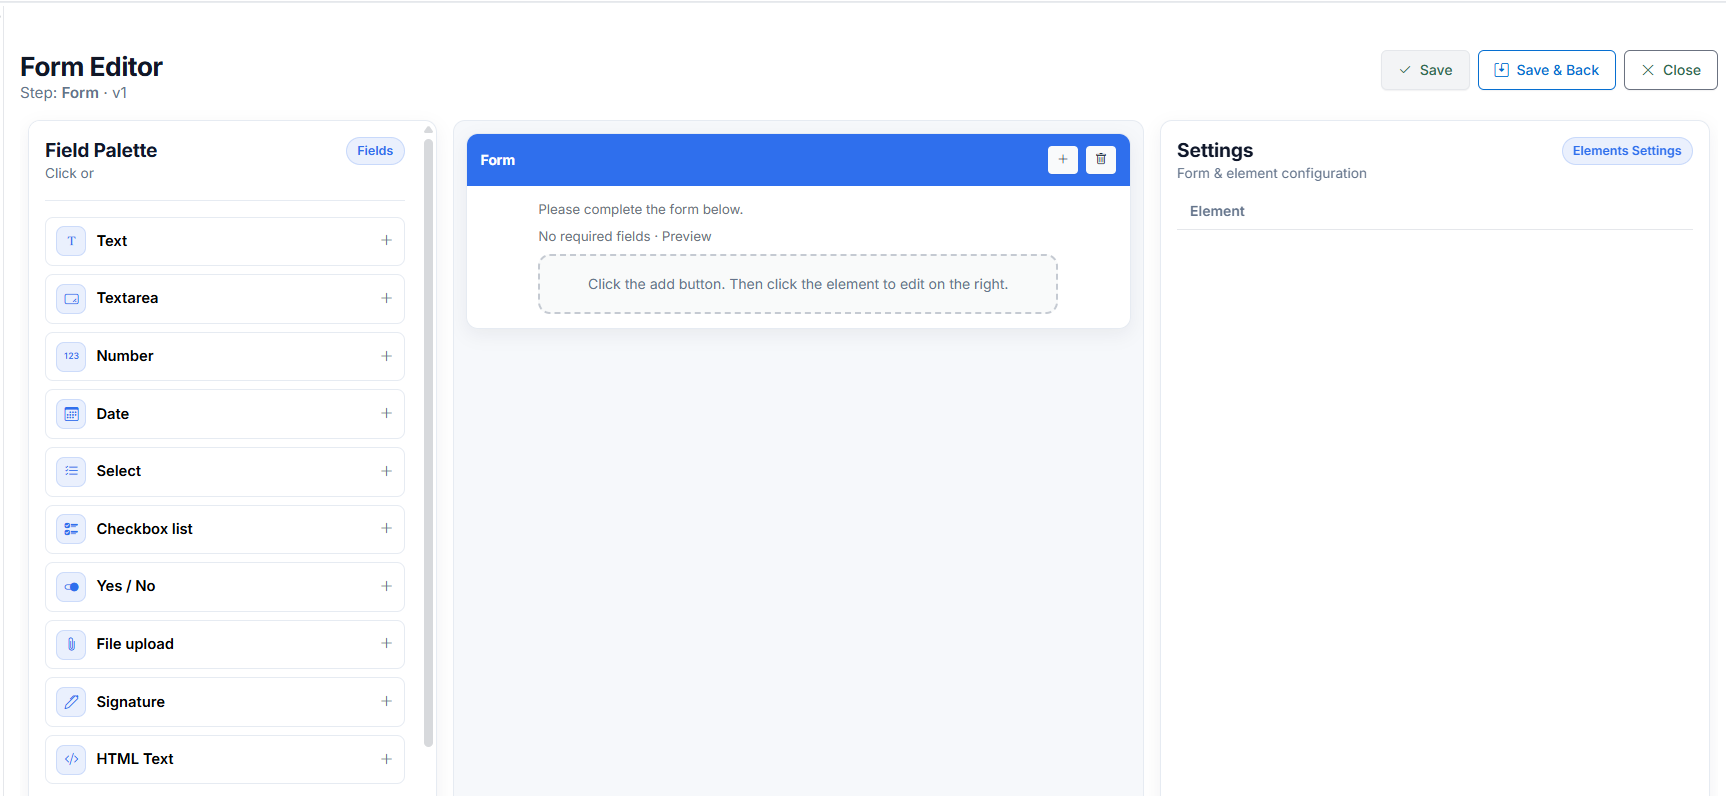
Form Editor Overview #
The Form Editor is a visual tool for building and managing your form. It consists of four parts:
- Field Palette — Choose from available field types to add to your form
- Blocks — Pre-built groups of fields you can add quickly
- Form Canvas — The layout area where you arrange and organise your fields
- Settings Panel — Configuration options for each selected field
Field Types #
Different field types are available depending on the type of data you want to collect:
| Field Type | Use For |
|---|---|
| Text | Short free-text input (e.g., name, company) |
| Textarea | Longer free-text input (e.g., description, notes) |
| Number | Numeric input with validation (e.g., age, quantity) |
| Date | Date selection (e.g., start date, birth date) |
| Dropdown | Single selection from a predefined list |
| Multi-select | Multiple selections from a predefined list |
| Yes / No | Simple binary choice |
| File Upload | Document submission (e.g., ID, certificate) |
| Signature | Digital agreement / signature |
| HTML Text | Display-only content (no input) — use for instructions or notes |
Field Settings #
Every field has a common set of configuration options:
| Setting | Description |
|---|---|
| Key | Internal identifier used for storing the data. Must be unique per form. |
| Label | The field name shown to the Candidate (e.g., "Full Name"). |
| Placeholder | Example or hint text shown inside the field before the Candidate types (e.g., "Enter your full name"). |
| Help / Hint | Additional explanation shown below the field to guide the Candidate. |
| Mandatory | If enabled, the Candidate must fill in this field before they can submit the form. |
| Read-only | If enabled, the field displays data but cannot be edited by the Candidate. |
| Default Value | A pre-filled value that appears when the form loads. |
| Validation | Controls what input is allowed (e.g., format, minimum/maximum length). |
Field-Specific Settings #
Some field types have additional settings:
| Field Type | Additional Setting |
|---|---|
| Number / Date | Min and Max values — restrict the range of allowed input |
| Dropdown / Multi-select | Options list — define the available choices (one per line) |
| HTML Text | Custom HTML content — write the display content directly |
Record Mapping #
Record Mapping connects form fields to Candidate data fields. This is important because:
- It controls where the submitted data is stored
- It ensures the data is available in the Candidate record
- It enables reuse of the data via Merge Fields in other Steps (e.g., emails, SMS, confirmations)
How to set up:
- Select a field in the Form Editor.
- Open the Record Mapping section.
- Select the Target Field (the Candidate data field where this input will be saved).
> Important: Always configure Record Mapping for fields that contain important data. Without it, the data may not be stored or reusable.
Conditional Logic #
Conditional Logic controls when a field is shown or hidden, based on the Candidate's other responses. This allows you to create dynamic forms that adapt to each Candidate.
How it works:
- Define up to 4 conditions per field
- Conditions use AND logic (all conditions must be true for the field to appear)
- Fields are hidden by default until conditions are met
Example: Show a "Visa Type" field only if the Candidate selects "Australia" in the "Country" dropdown.
What the Candidate Sees #
The Candidate sees:
- A message (your Display Text)
- A button to open the form
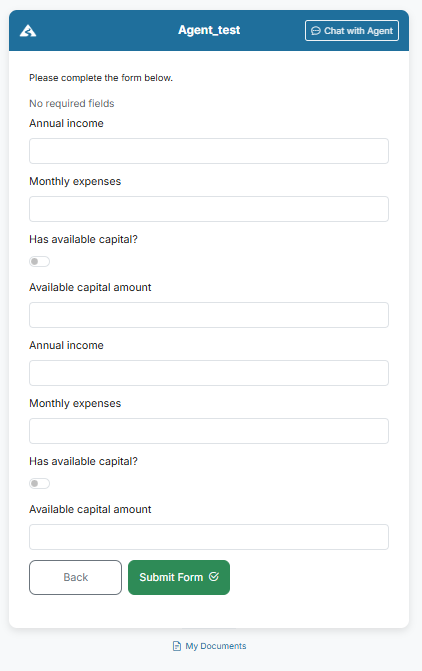
- A structured form with the fields you configured
- Validation messages if required fields are empty
- A submit action
After submission:
- Data is saved to the Candidate record
- The Journey continues to the next Step
Tips #
- Keep forms short and focused
- Use predefined options (dropdowns, multi-select) when possible — they reduce errors
- Use Mandatory only for critical fields — too many required fields can frustrate Candidates
- Always configure Record Mapping for important data fields
- Use Conditional Logic to reduce clutter and show only relevant fields
- Test the form by going through the Journey as a test Candidate
Notes #
- All submitted data is stored in the Candidate record
- Form data can be reused in SMS, Email, and other Steps via Merge Fields
- Poor form design (too many fields, confusing labels) can reduce completion rates