How It Works #
- The Candidate reaches the Document Exchange Step.
- Documents may be provided for download (Brand → Candidate).
- The Candidate uploads required files (Candidate → Brand), if enabled.
- Submitted files are saved to the Candidate record.
- The Journey continues to the next Step.
How to Configure #
- Open your Agent in the Agent Editor.
- Go to Path Steps.
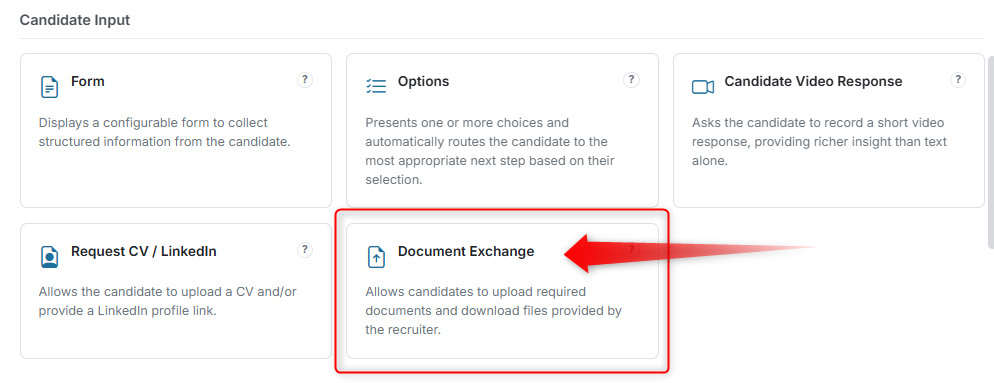
- Click Add Step → select Document Exchange.
Enable Modes #
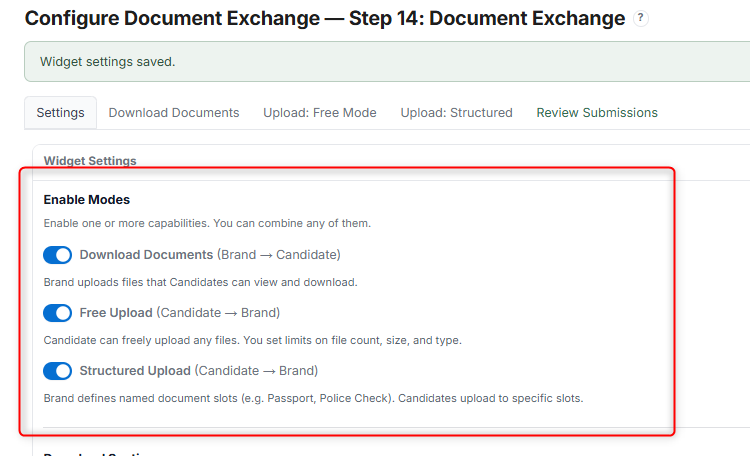
Enable the modes you need:
- Download Documents (Brand → Candidate) — Provide files for the Candidate to download
- Free Upload (Candidate → Brand) — Allow the Candidate to upload files freely
- Structured Upload (Candidate → Brand) — Require specific document types to be uploaded
Configure Sections #
- Add documents for download (if using Download mode)
- Add instructions for Candidates
- (Optional) Require the Candidate to confirm they have read the documents before continuing
- Configure upload limits (file size, type, quantity)
- Click Save.
What the Candidate Sees #
Depending on the configuration, the Candidate may see one or more sections:
Download Section (if enabled) #
- A list of documents provided by the Brand
- Each document can be viewed or downloaded
- Instructions may be shown above the list
- If enabled: the Candidate must confirm they have read the documents before continuing
Upload Section — Free Upload #
- The Candidate can upload one or more files freely
- File restrictions may apply (size, type, quantity)
- Uploaded files are listed after selection
Upload Section — Structured Upload #
- The Candidate sees predefined document slots (e.g., "Passport", "Certificate")
- Each slot requires a specific file upload
- All required documents must be completed before continuing
Submission #
- The Candidate clicks Continue after completing required actions
- The system validates:
- Required uploads are completed
- Required confirmations are checked
- If validation fails:
- The Candidate cannot proceed
- Missing items are highlighted
After Submission #
- Uploaded documents are saved automatically
- The Candidate proceeds to the next Step
Candidate Record #
- All uploaded files are stored in the Candidate record
- Reviewers can access and review submissions
- Downloaded documents are tracked (if confirmation is enabled)
Tips #
- Use Structured Upload when specific documents are required (e.g., ID, certificate)
- Use Free Upload for flexible or optional submissions
- Keep instructions clear to avoid incomplete uploads
- Clearly label each document with its purpose
Notes #
- Multiple modes can be enabled at the same time
- File size and format restrictions should be clearly communicated
- This Step is commonly used for compliance and document collection