How It Works #
- The Candidate reaches the Options Step.
- A question and list of choices are displayed.
- The Candidate selects one or more options.
- The system records the response.
- The Candidate is routed to the next Step based on configured rules.
How to Configure #
Step Configuration #
- Open your Agent in the Agent Editor.
- Go to Path Steps. Choose Options.
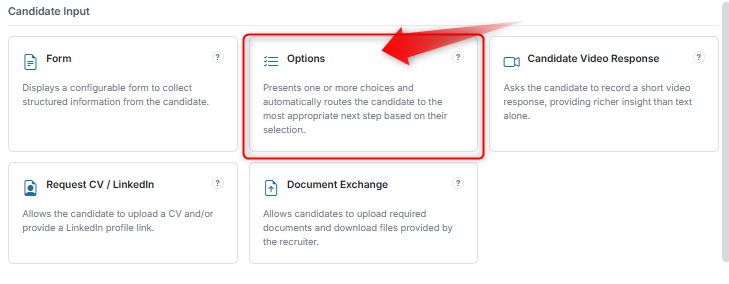
- Click Configure on an Options Step.

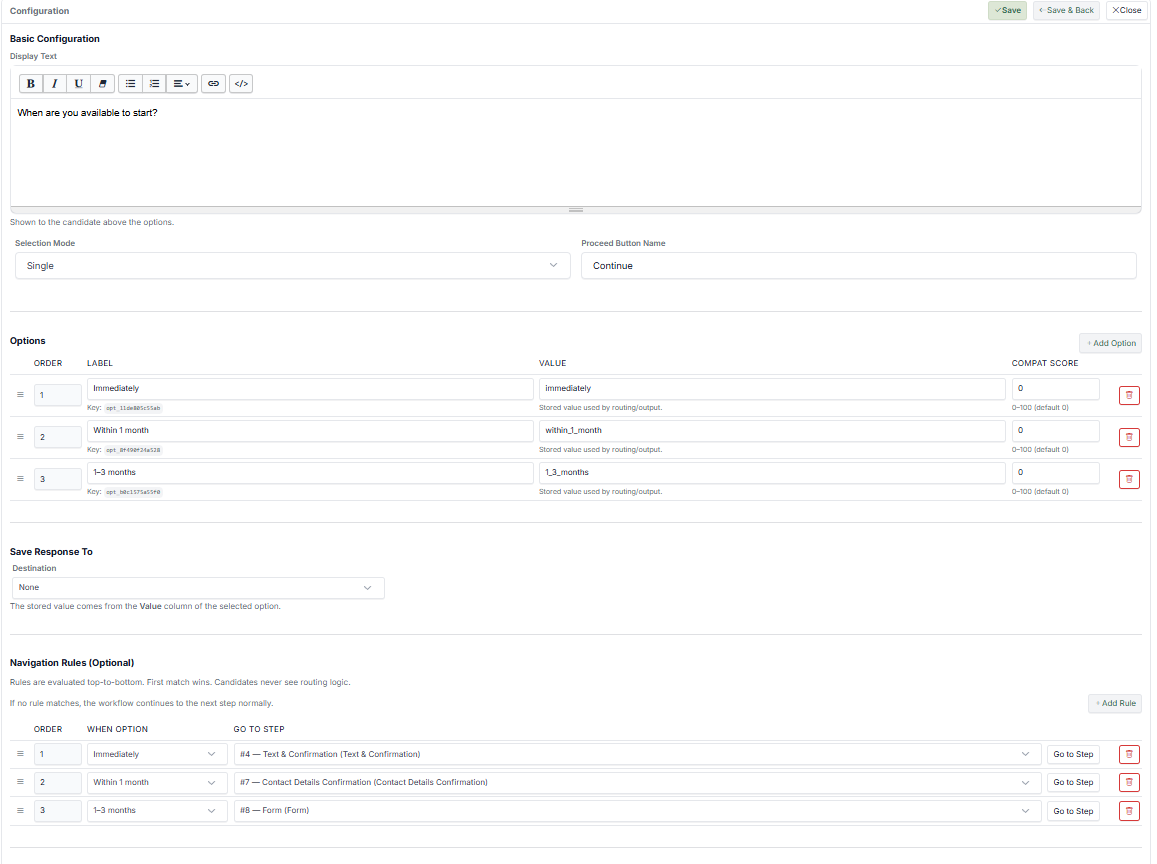
- Enter Display Text (your question).
- Choose Selection Mode:
- Single — Candidate selects one option only
- Multi — Candidate can select multiple options
- Set the Proceed Button Name (e.g., "Continue").
- Click Save.
Adding Options #
- Scroll to the Options section.
- Click Add Option.
- Enter:
- Label — What the Candidate sees (e.g., "Full-time")
- Value — What is stored internally (e.g., "full_time")
- (Optional) Set a Compatibility Score for this option.
- Repeat for all options.
Save Response #
Configure where the selected value is stored:
- Select a Destination field (the Candidate data field where the response will be saved).
- The selected option's value will be stored in that field.
- This allows reuse in:
- Merge Fields (e.g., personalise emails)
- Filtering (e.g., filter Candidates by their selection)
- Reporting (e.g., analyse responses)
Navigation Rules #
Navigation Rules control where the Candidate goes next based on their selection.
- Click Add Rule.
- Define:
- When Option — The selected value (e.g., "full_time")
- Go to Step — The target Step to navigate to
- Rules are evaluated top to bottom — the first match is applied.
- If no rule matches, the Journey continues to the next Step by default.
What the Candidate Sees #
- A question (your Display Text)
- A list of selectable options
- A button to proceed
Depending on setup:
- Single selection — Choose one option
- Multi selection — Choose multiple options
Example #
Scenario: You want to understand the Candidate's availability and route them accordingly.
Display Text: "When are you available to start?"
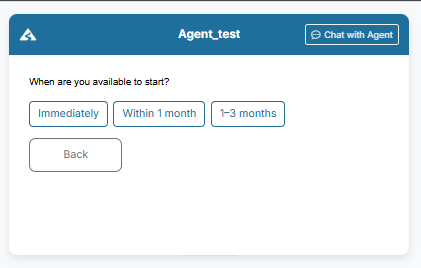
Options:
- Immediately
- Within 1 month
- 1–3 months
Navigation Rules:
- "Immediately" → Go to Fast Track Review
- "Within 1 month" → Go to Standard Process
- "1–3 months" → Go to Talent Pool / Follow-up
Outcome: Candidates who are available immediately move faster through the process. Others are placed into appropriate flows based on their timing.
Tips #
- Keep options clear and concise
- Avoid too many choices (3–5 is ideal)
- Use meaningful values (for logic and reporting)
- Always configure Navigation Rules for branching flows
- Use this Step to guide the Journey, not just collect data
Notes #
- Options can be used for routing, filtering, and scoring
- Navigation Rules are evaluated in order (top to bottom)
- If no rules are set, the Journey continues normally
- Works well with Compatibility Match when scoring is enabled