Prerequisites #
Before creating a Gate, ensure you have:
- At least one Agent configured (see Build an Agent in 5 Minutes)
- Understanding of What is a Gate?
Overview #
This guide shows how to create a Gate to receive external data, map it to Candidates, and automatically start a Journey.
How It Works #
- External system sends data
- Gate receives the request
- Data is mapped to Candidate fields
- Routing rules determine the Agent
- Candidate is created and enters the Journey
How to Configure #
- Open the Gates section from the left-hand menu.

- Click Add Gate (or equivalent).
- Fill in basic details:
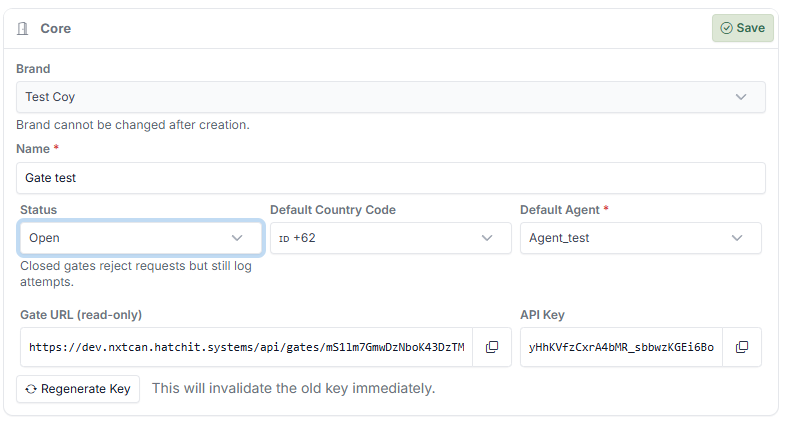
- Gate name
- Description (optional)
- Copy credentials:
- Gate URL
- API Key
- Configure Field Mapping:
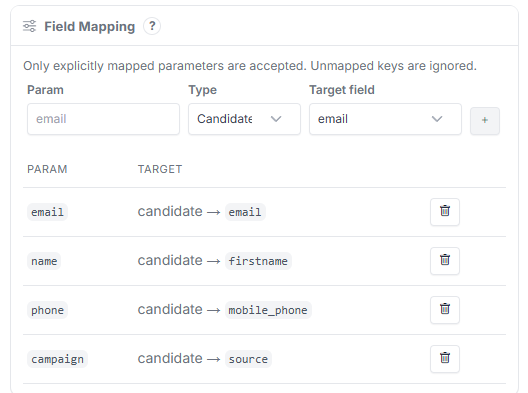
- Map incoming data fields to Candidate record fields
- (Optional) Configure Routing Rules:
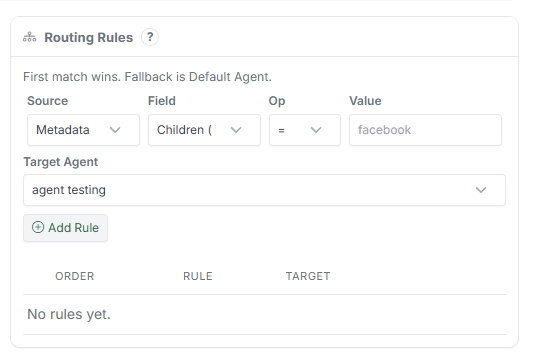
- Define conditions to route Candidates to different Agents
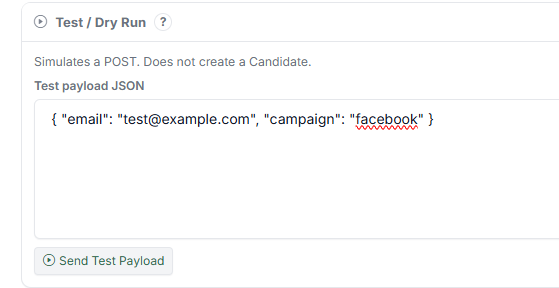
- Test the Gate using Test mode before switching to Live.
- Click Save.
The Gate is now ready to receive data.
What Happens After Setup #
When data is sent to the Gate:
- A Candidate is created automatically
- Data is stored in mapped fields
- Candidate is assigned to an Agent
- The Journey starts from the first Step
Tips #
- Start with minimal fields (email, name, phone)
- Always test before switching to Live
- Use routing rules only when needed
- Keep parameter names consistent with your source
Example #
Sample payload:
{
"email": "test@example.com",
"name": "John",
"campaign": "facebook"
}
Result:
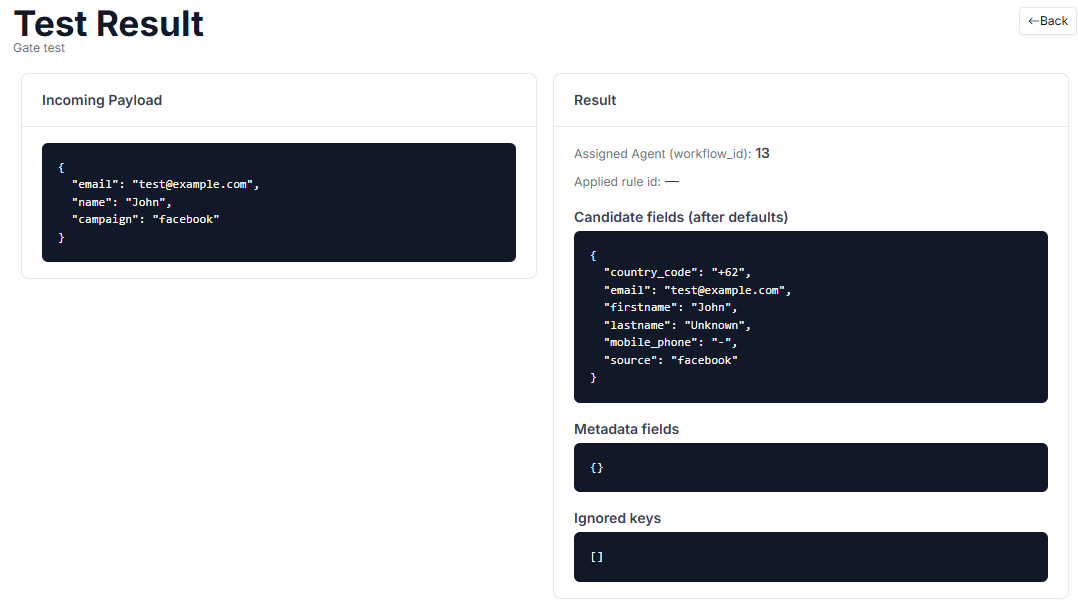
- Candidate is created
- Campaign is stored as source
- Candidate is routed to the correct Agent
Notes #
- Gate must be set to Open to accept real data
- Unmapped fields will be ignored
- API Key is required for authentication
- Use Test mode before Live to avoid errors