Overview #
This feature allows Admins to manage who can access the system, what level of access they have, and which Brands they are assigned to. Users can be created, updated, deactivated, or removed depending on operational needs.
Add a New User #
To add a user:
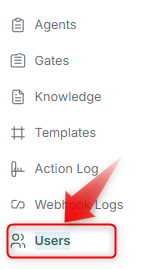
- Go to Account & Admin Settings → Users.
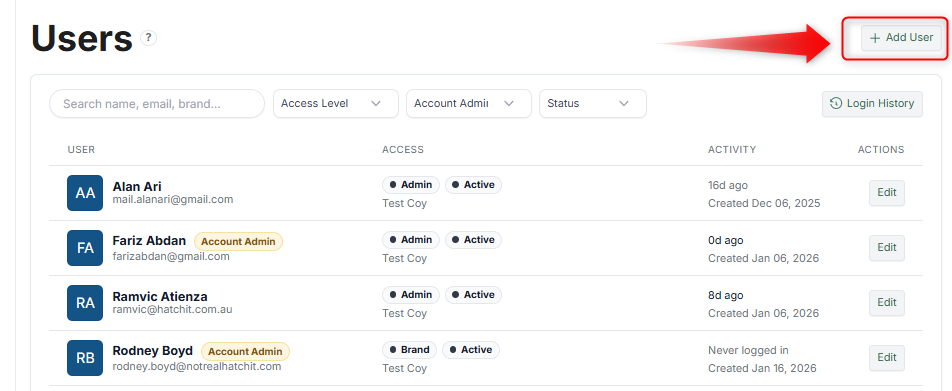
- Click Add User.
- Fill in:
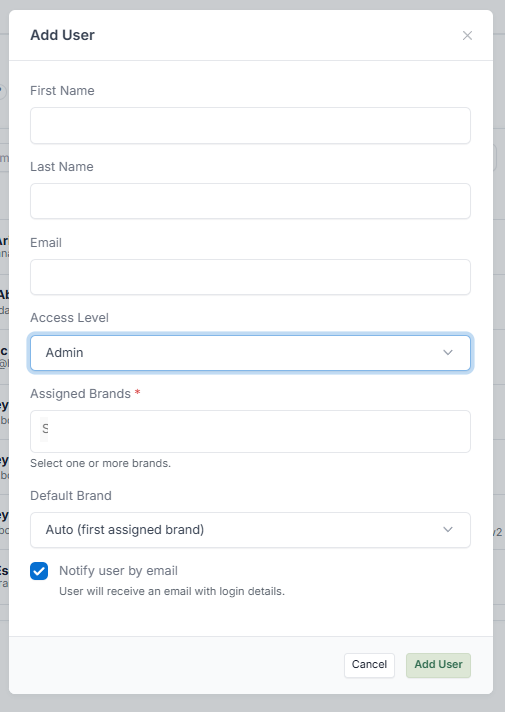
- (Optional) Enable Notify user by email.
- Click Add User.
The user will receive login details if email notification is enabled.
Edit a User #
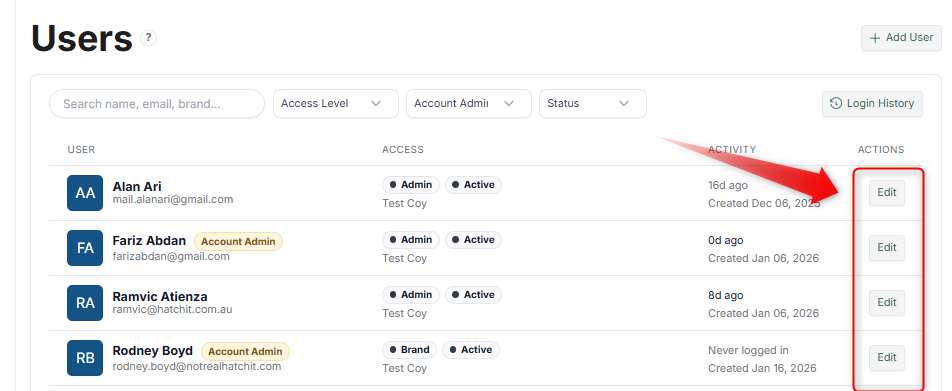
You can update:
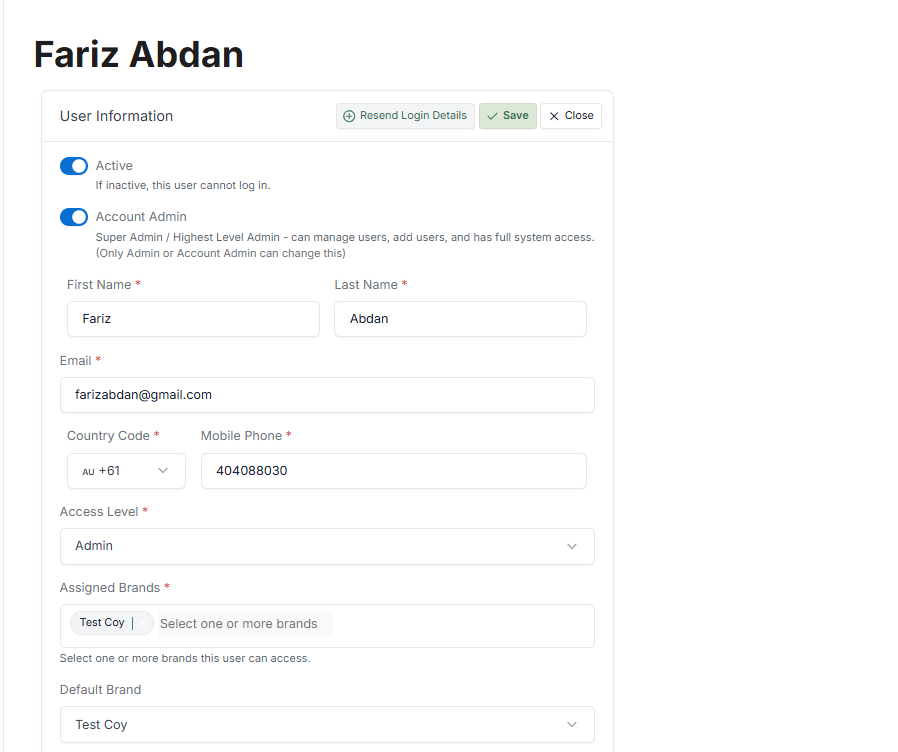
- Name and contact details
- Access level
- Assigned Brands
- Default Brand
- Password (optional)
Click Save after making changes.
User Status #
- Active ON → User can log in
- Active OFF → User cannot access the system
Use this instead of deleting users (recommended).
Access Levels #
- Admin / Account Admin — Full system access, including managing users
- Other roles (if configured) — Limited access based on permissions
Assigned Brands #
Users can be restricted to specific Brands. This is important for multi-Brand environments.
Remove a User #
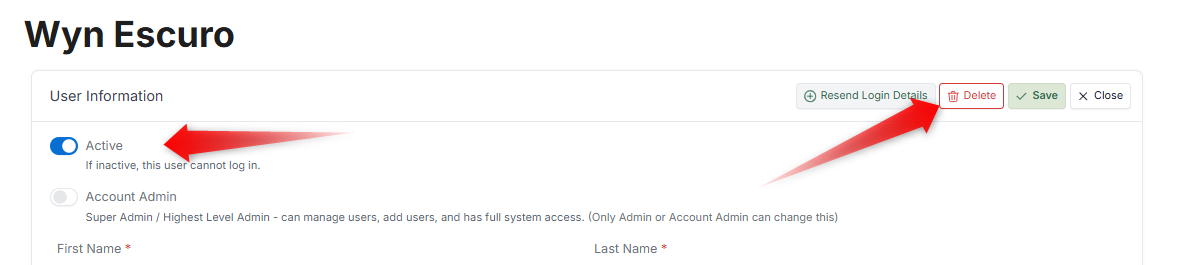
There are two options to remove or inactivate a user:
- Set the user to Inactive
- Remove access by unassigning Brands
Use Cases #
- Onboarding new team members
- Restricting access by role
- Managing multi-Brand operations
- Offboarding users safely